A Sister Book
Back in 2018 I made an alphabet book (which you can find here). Once completed I thought about doing a similar book, but with numbers this time. Well it took me four years, but I finally got around to it. So here is the making of it. See the link here for the completed Book of Numbers.
Materials
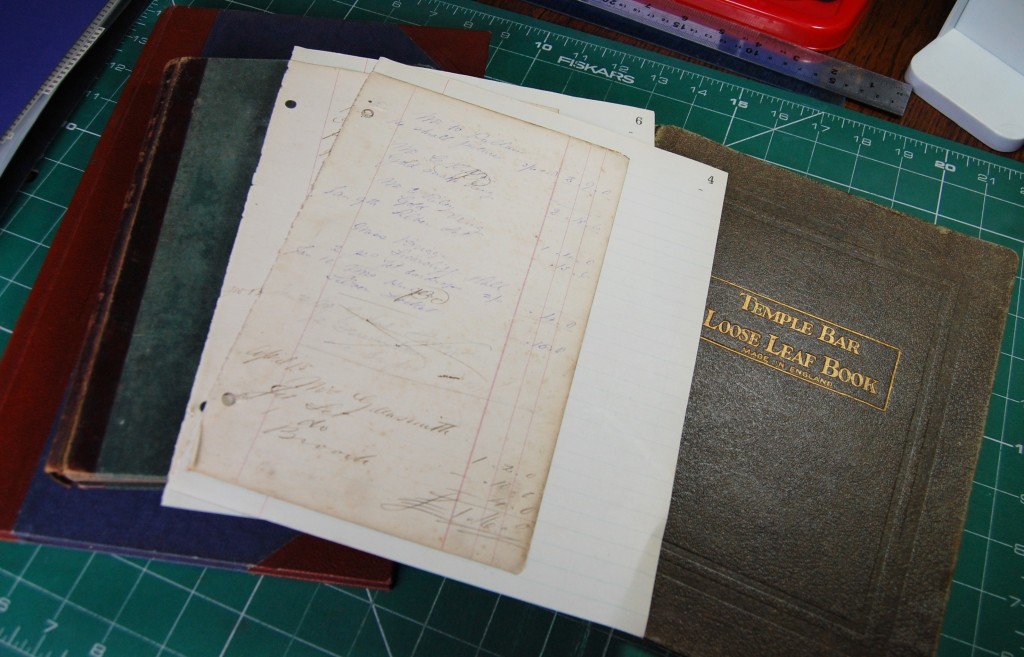
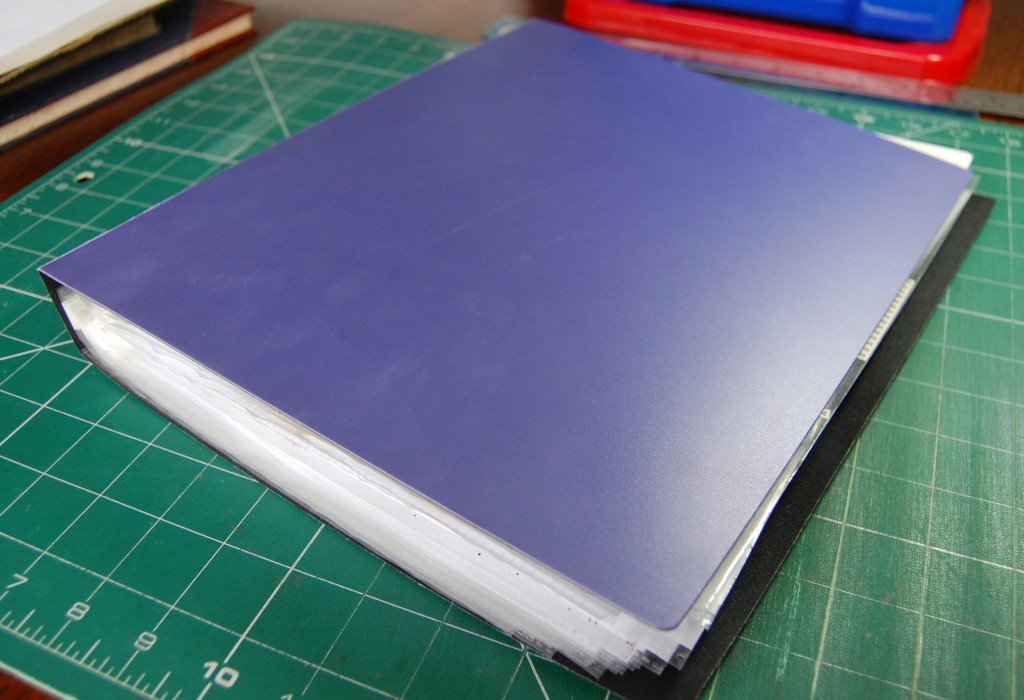
I always like to choose my basic materials first – e.g. – what will the actual book look like? With the alphabet book I was lucky enough to have an old blank book which I’d picked up at an antiques fair. The book had been partially used as a scrapbook, but there were enough blank pages to work around that, and the pages were lovely and thick too, so I’d been hoping to find something similar again. Sadly, that was not to be, so I began looking at other options in my stash.
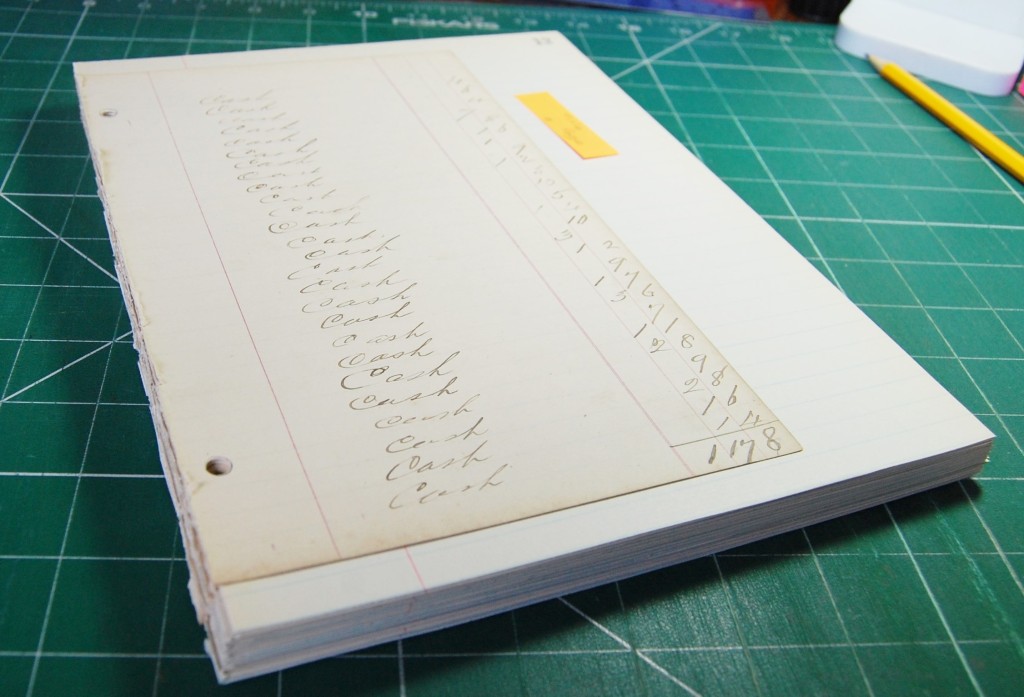
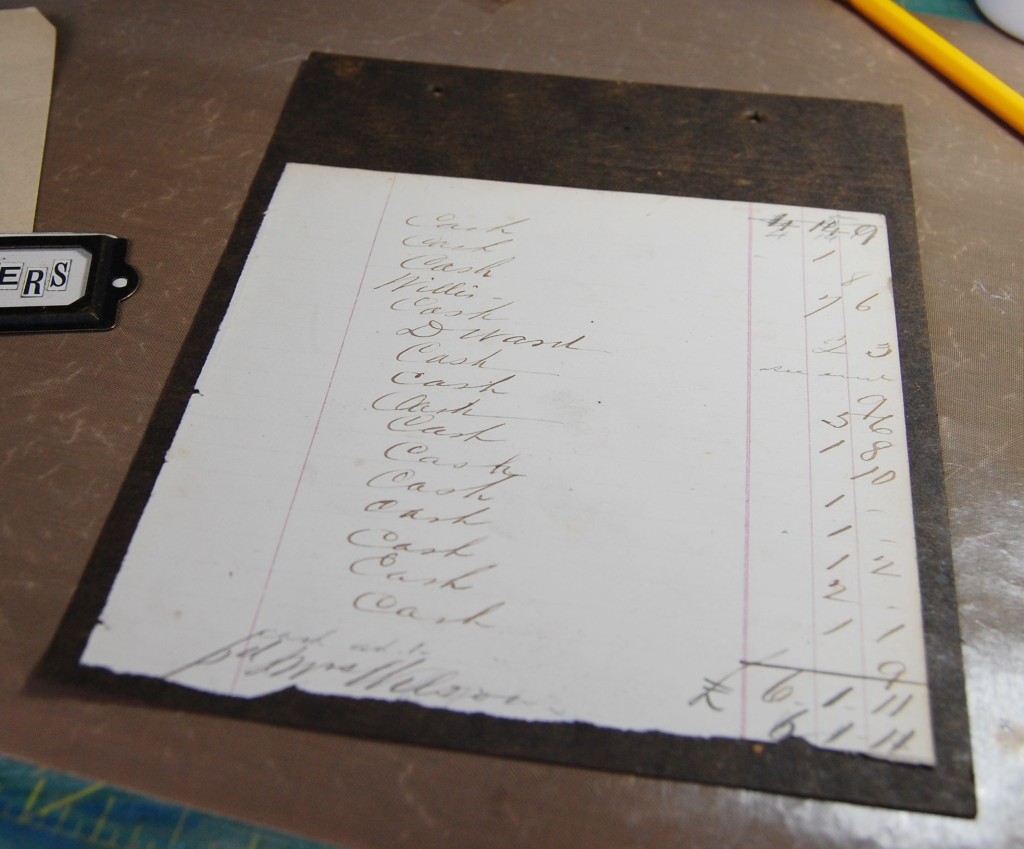
In the end I decided to use an old ring bound folder (Temple Bar Loose Leaf Book in photo), and pages from an old ledger which would reflect the number aspect of the book. As the ledger pages were quite a bit smaller than the folder I decided to use them as a centre piece and mount them on lined paper from another old book (as shown in the photo above).
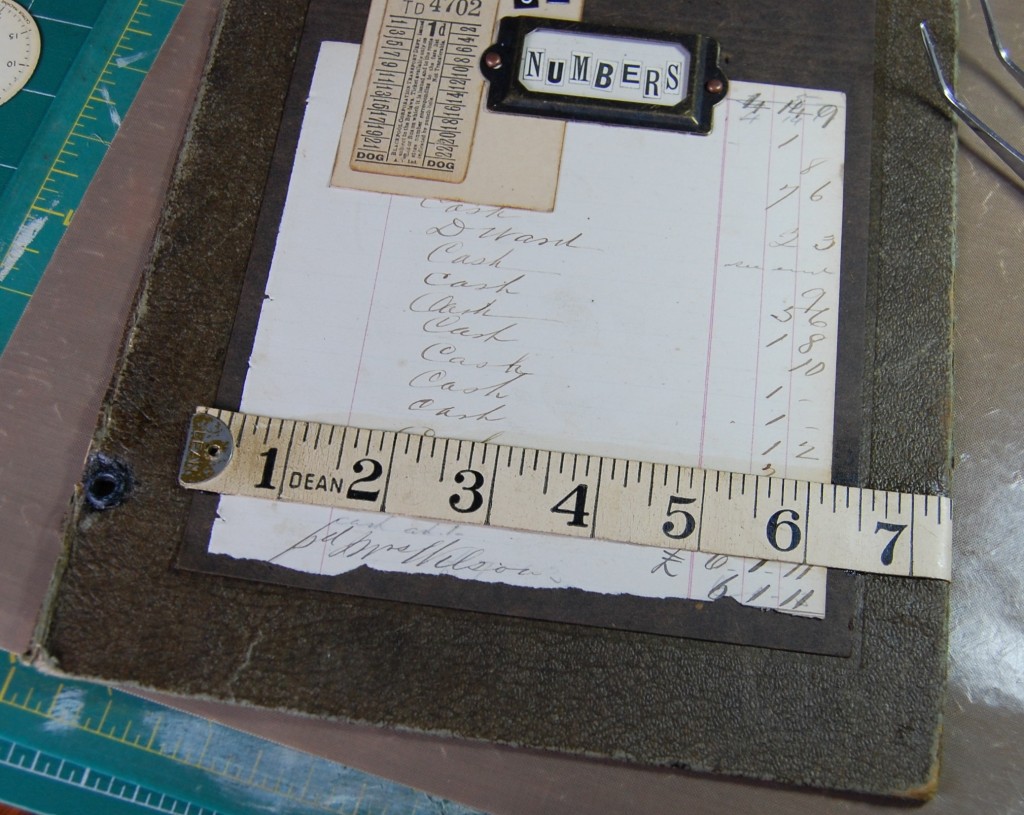
Making the Pages

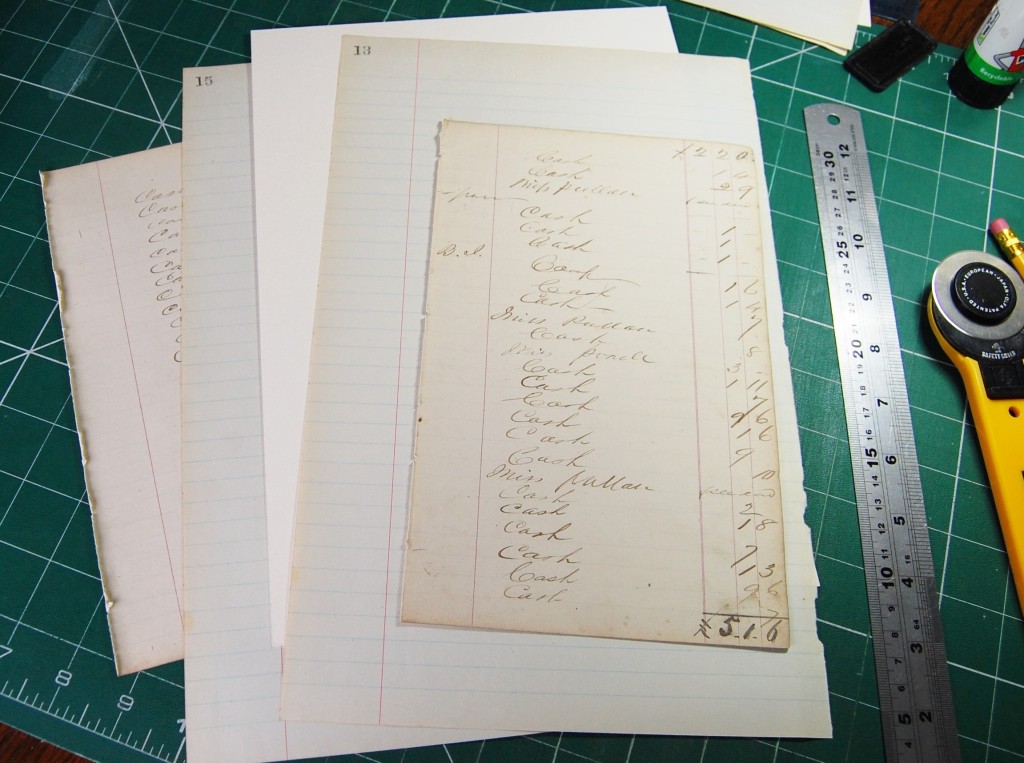
I made two card templates, one to fit the size of the folder and one the same size as the ledger paper, holes were punched in the template to allow all holes in the pages to align. I then assembled two pages to make sure it worked and these could be used during the design process.
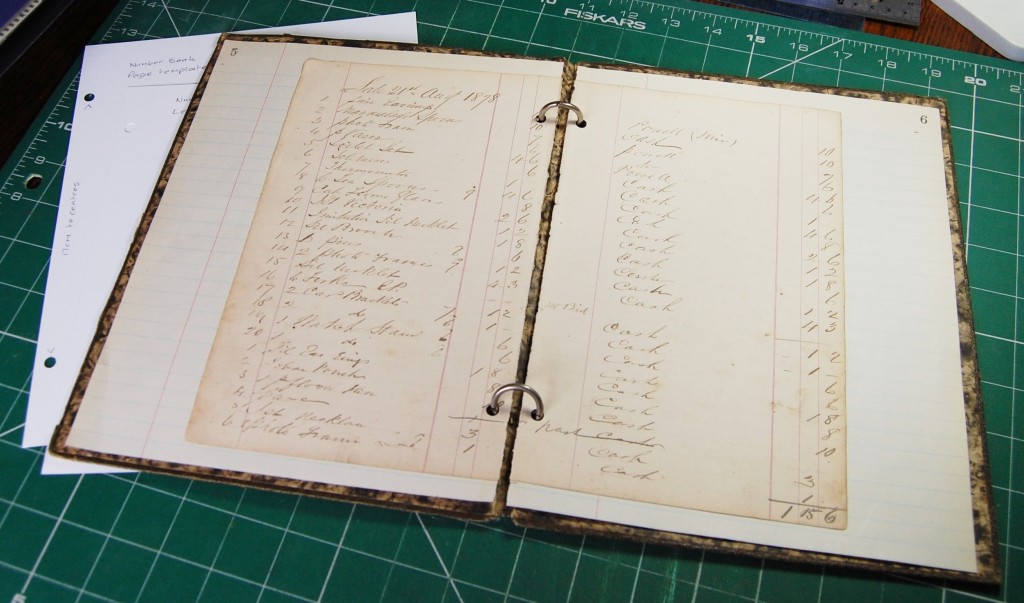
As you can see from the photo above, the lined paper has been cut to size and the ledger paper has been stuck to form a centre panel when the book is assembled. I could now make all the pages I would need for the book in advance.
Before I could make the pages I had to decide on the amount of numbers to be included in the book. So, page making was paused until an image search was completed.
Images
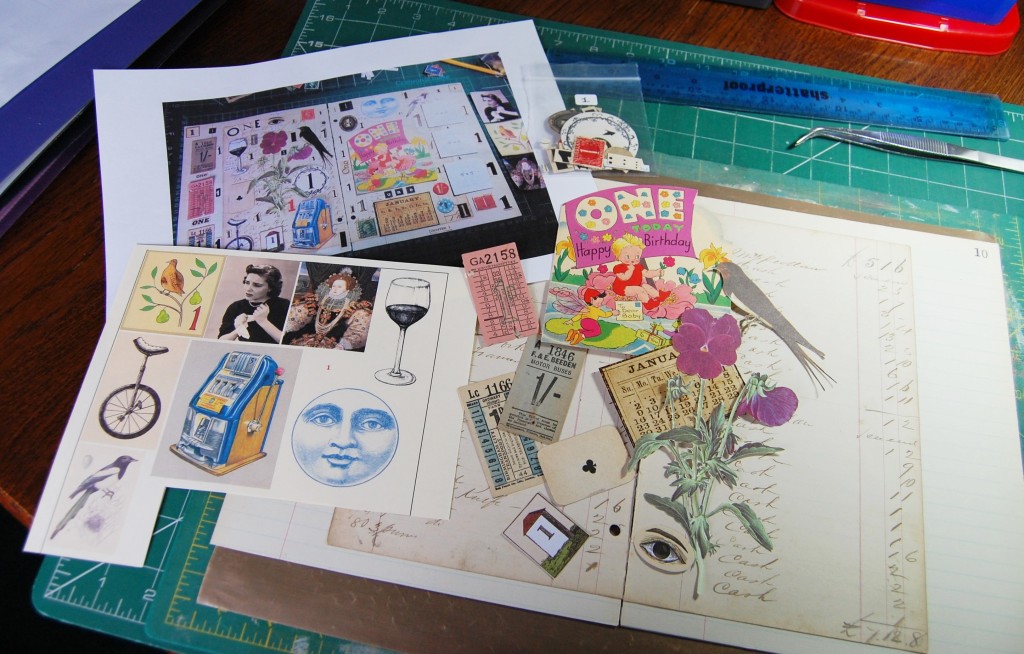
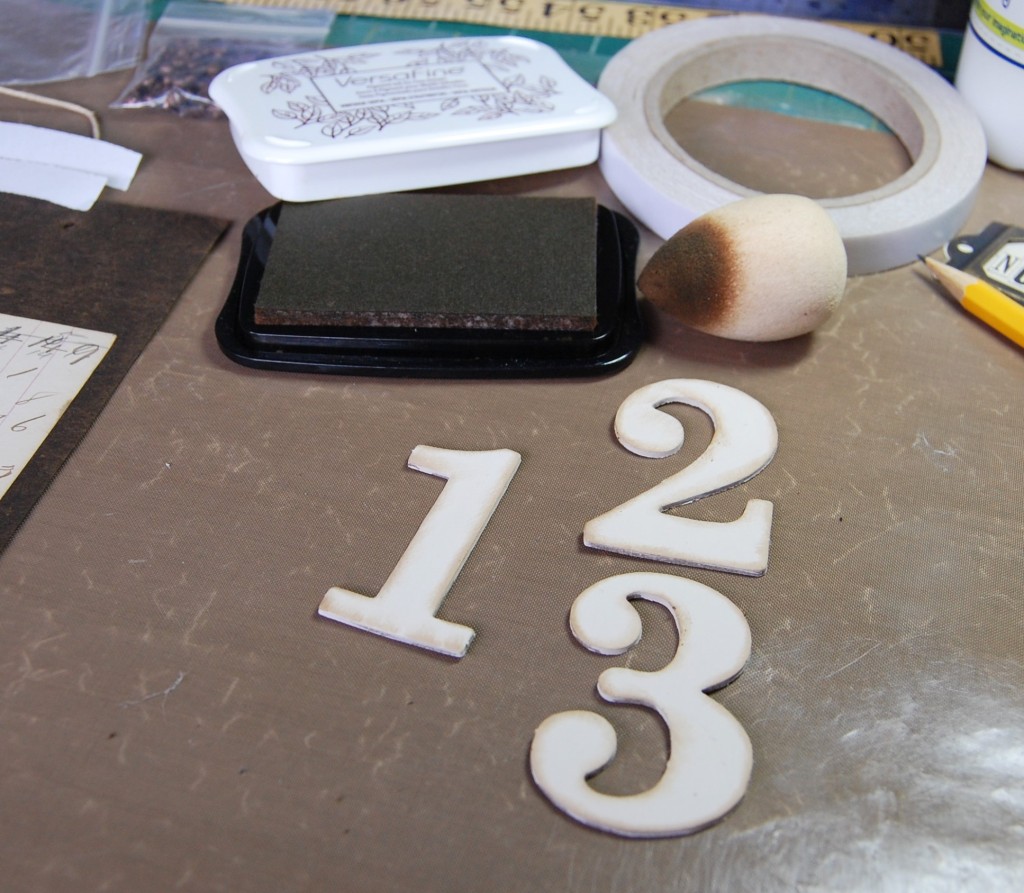
I started out by looking through my huge collection of images, scraps and ephemera for anything associated with or illustrating numbers. I collected as much as I could then did a search online for rhymes and sayings about numbers in an attempt to add more interest to the project.
It was whilst searching for images and sayings that I came across quite a few references to the number twelve – twelve months in a year, twelve signs of the zodiac, the Twelve Days of Christmas etc. So it was at that point I decided to illustrate numbers one to twelve and do a double page spread for each number.
Designing
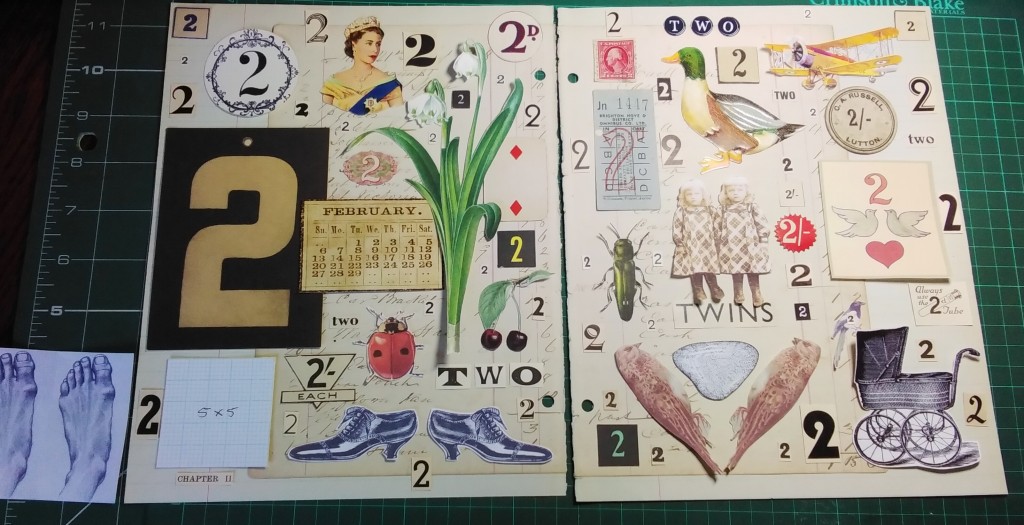
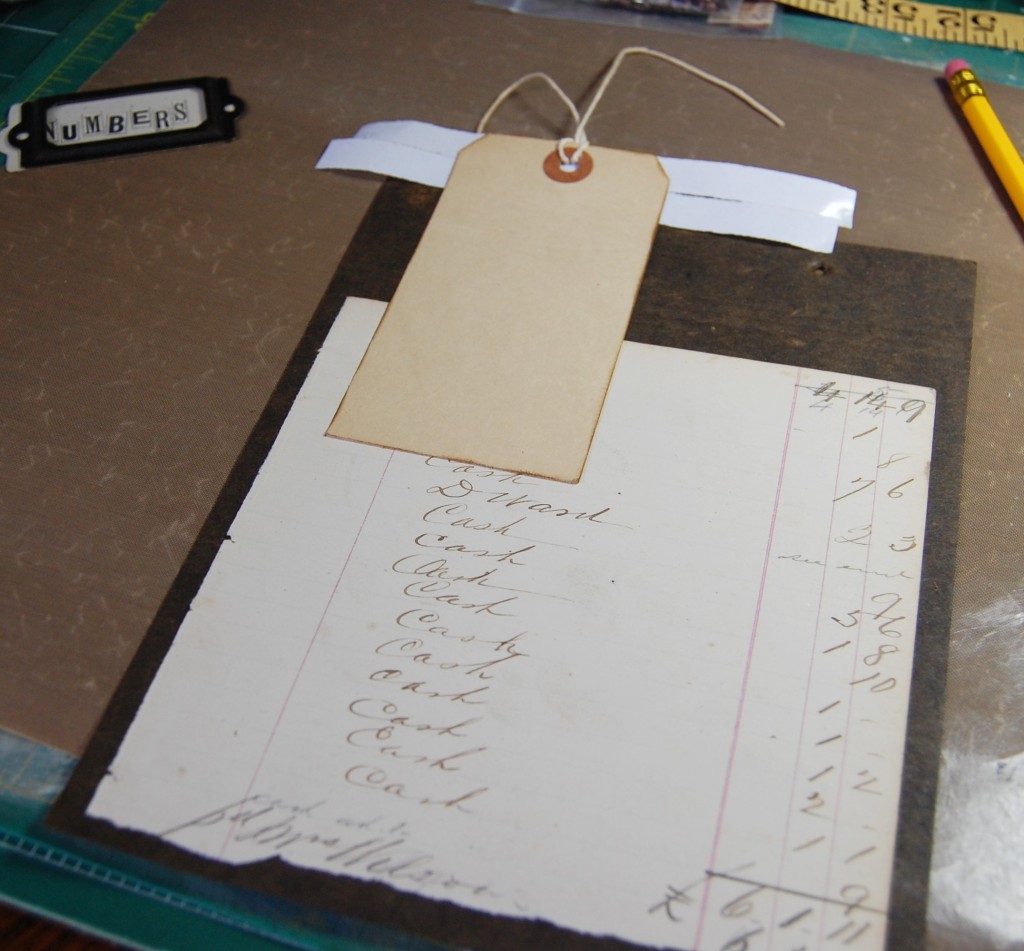
Using the first two sample pages I had made I set out all the images I wanted to use, using graph paper templates to fill in for images that would need resizing. I also included lots of single numbers cut from old books and magazines to fill all the gaps. The above photo is just a first draft design, with some images not making the final book.
Once all the designs had been finalized they were put into a file folder ready to be made into the book.
Making the Book
So, it was finally time to start making up pages. As the lined paper was quite thin I was concerned that images might show through on the pages behind, so to stop that and to add strength to the pages I decided to sandwich pairs of pages together with a card core.
The photo above shows plain cream card as it would be inserted between two sheets of lined paper, with the ledger paper layered on top of each side.
Everything was then cut to the sizes of the templates made earlier, stuck together and holes punched through in their correct places. Incidentally, I used a plain old glue stick like Pritt (other glue sticks are available) to glue the card and paper together as it was quick, not messy and gave better coverage than using double sided tape. You could used double sided A4 sticky sheets, but this would work out more expensive in the long run.

I made twelve double sided pages (twenty four sides) in all as can be seen above. The sticky notes were a record of each page number to help me whilst making up.
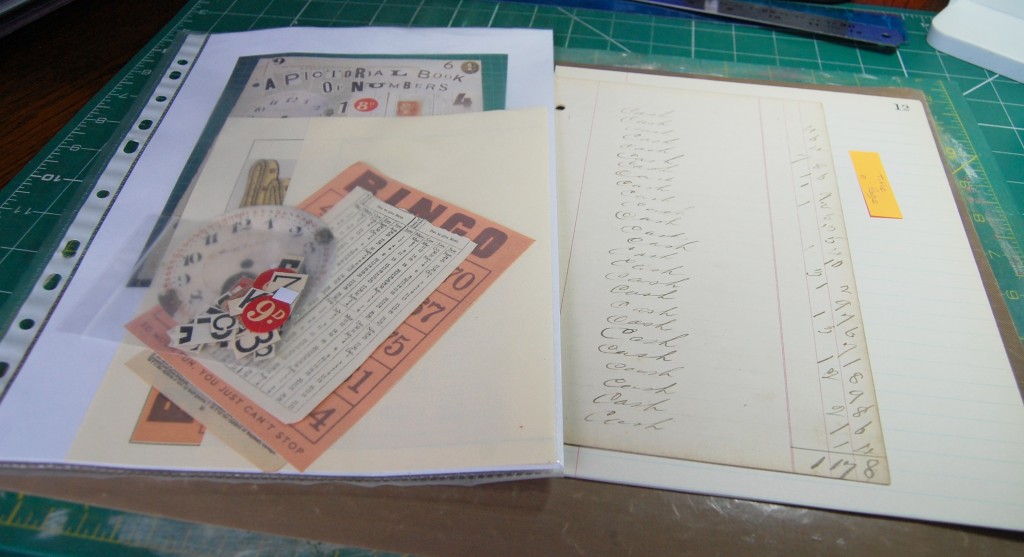
The first page to be made up would be the introductory page. As you can see from the photo above, everything I needed to complete the page is contained in a file pocket, including a photo of the draft design which I had printed out.

Here we see the images ready to be placed on the page plus a grip seal bag with all the small items to be added later. There is also the printed photo of the draft design.
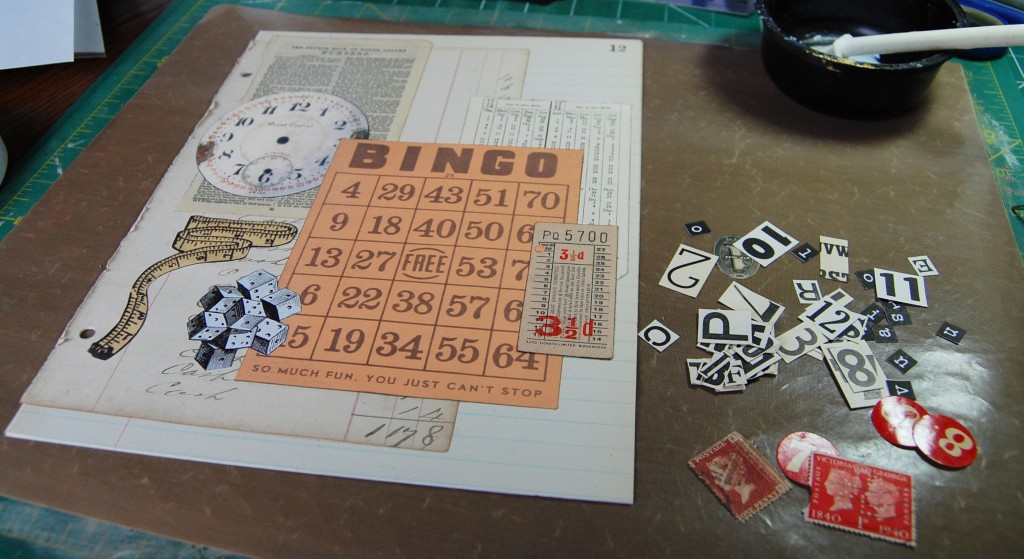
In this photo all the large images have been applied, either with double sided tape or PVA glue, and the small items are just waiting to be added.

All the remaining pages were finished in a similar way until the file folder was full of finished pages instead of designs.

The Book Cover
It became apparent that the number of pages I had made would not fit into the ring bound folder as it was, so I had to adapt it.
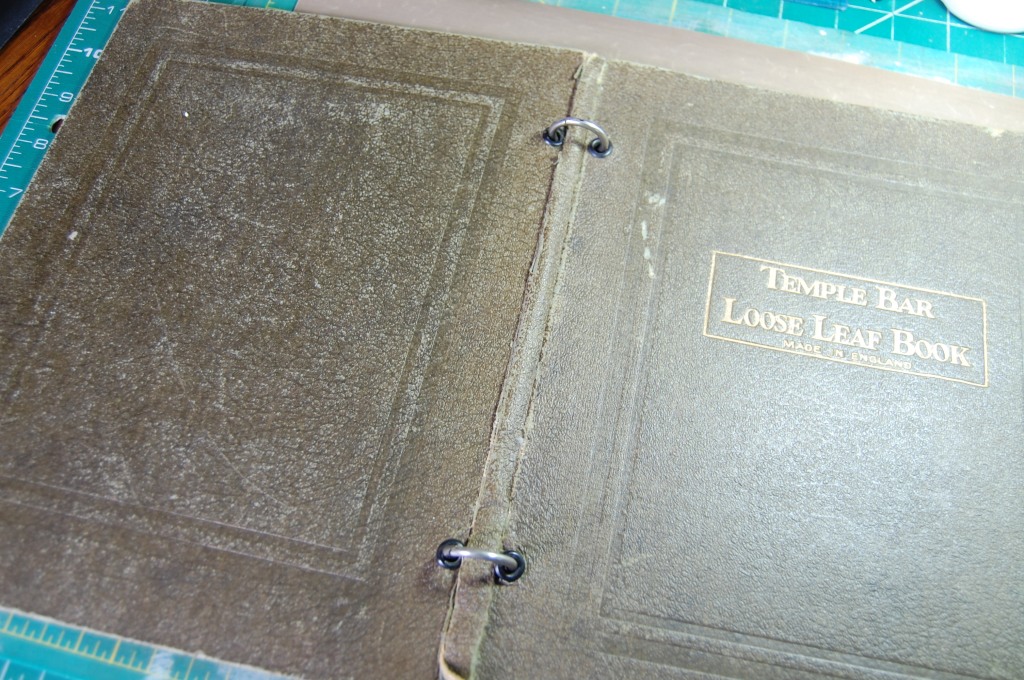
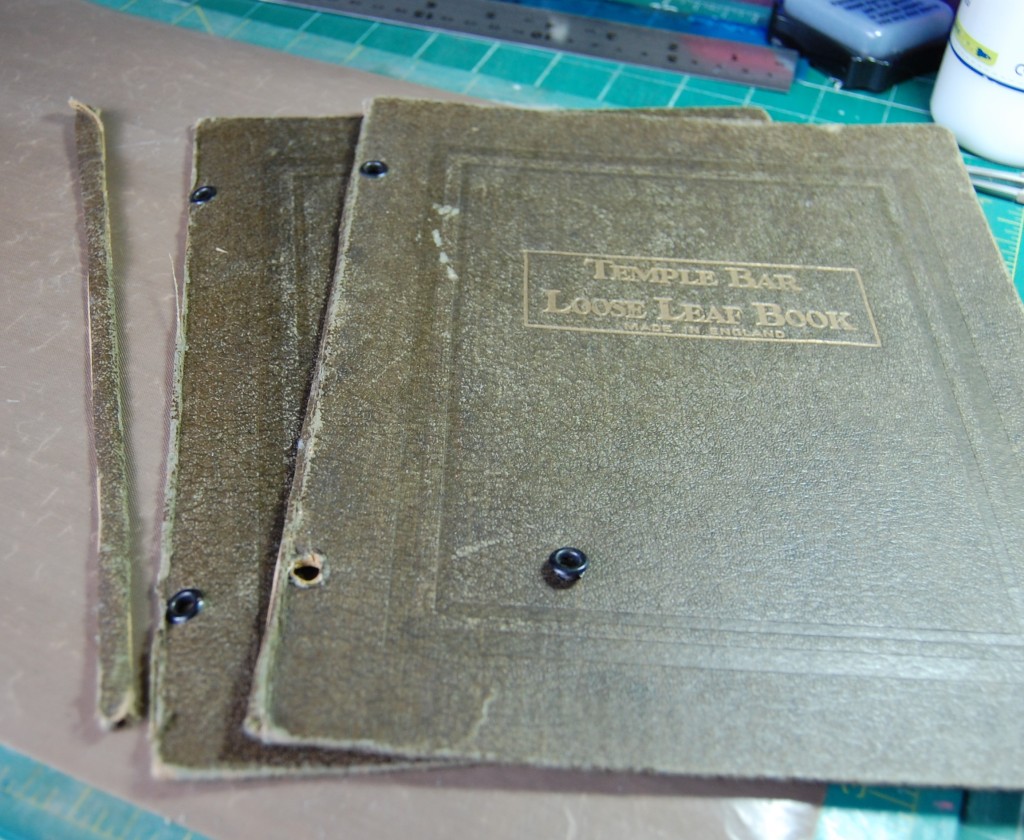
There was only one solution – cut the spine of the book off and use some larger book rings. Another problem with the folder was that one of the eyelets had come out, so that would need sticking back in.
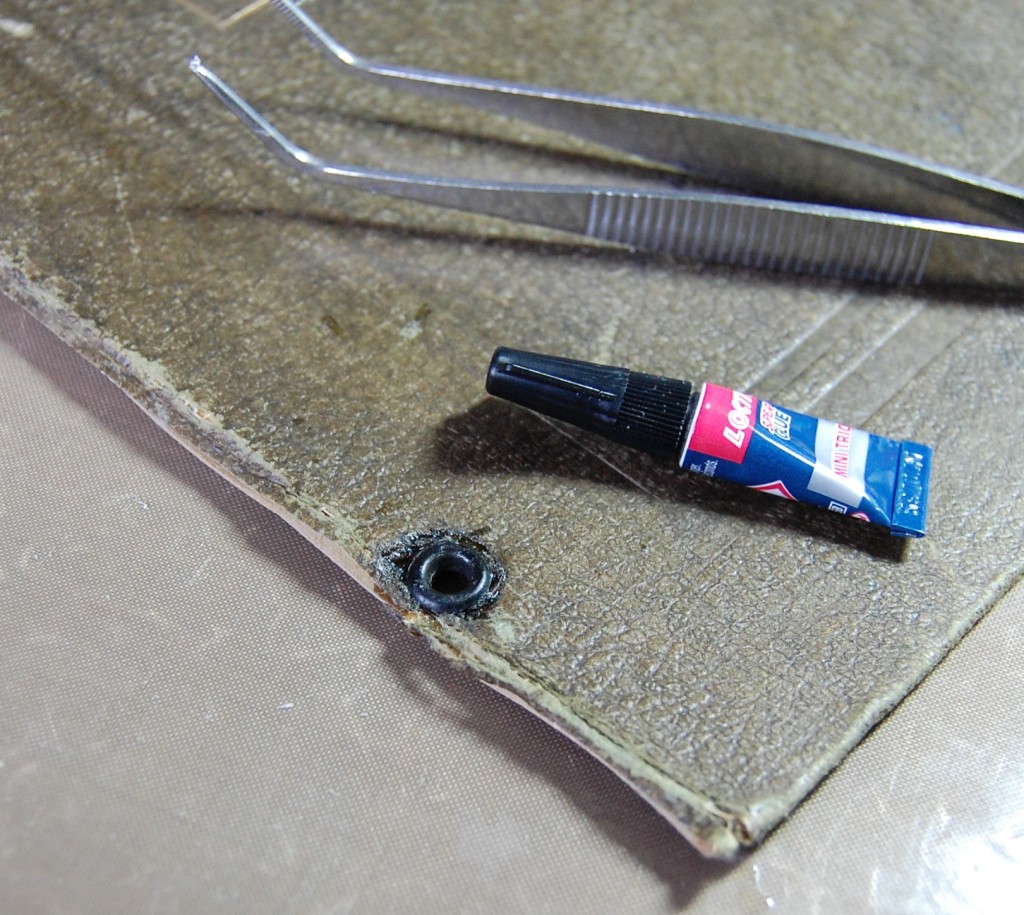
It would be impossible to reset the eyelet as it was and I didn’t have a suitable replacement, so I stuck the original back in the hole using some super glue. As you can see it did make a bit of a mess, but as the folder was already distressed I could live with that.

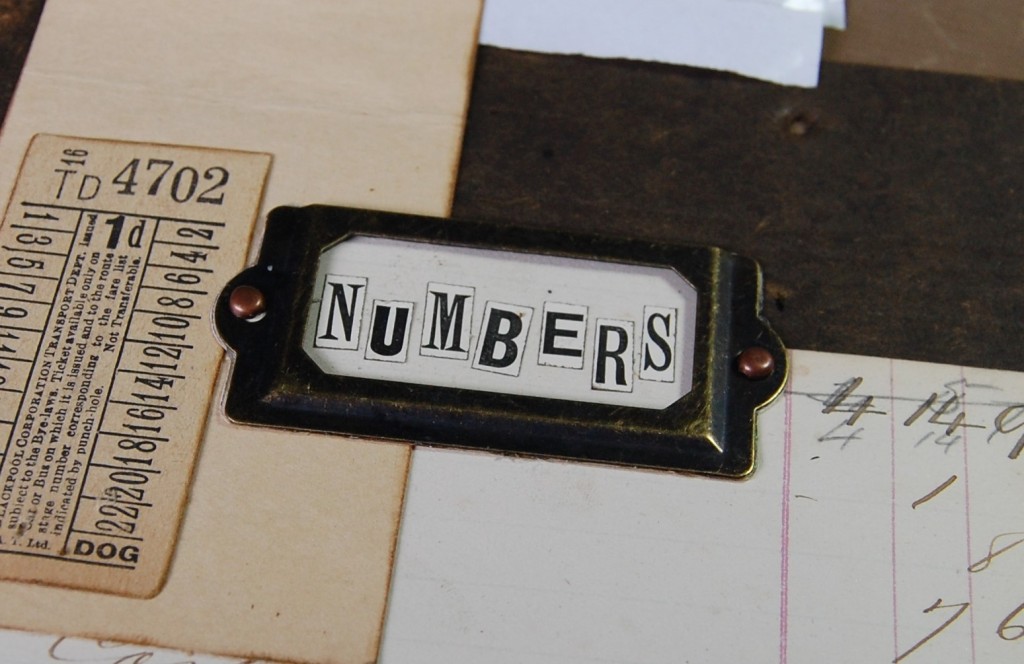
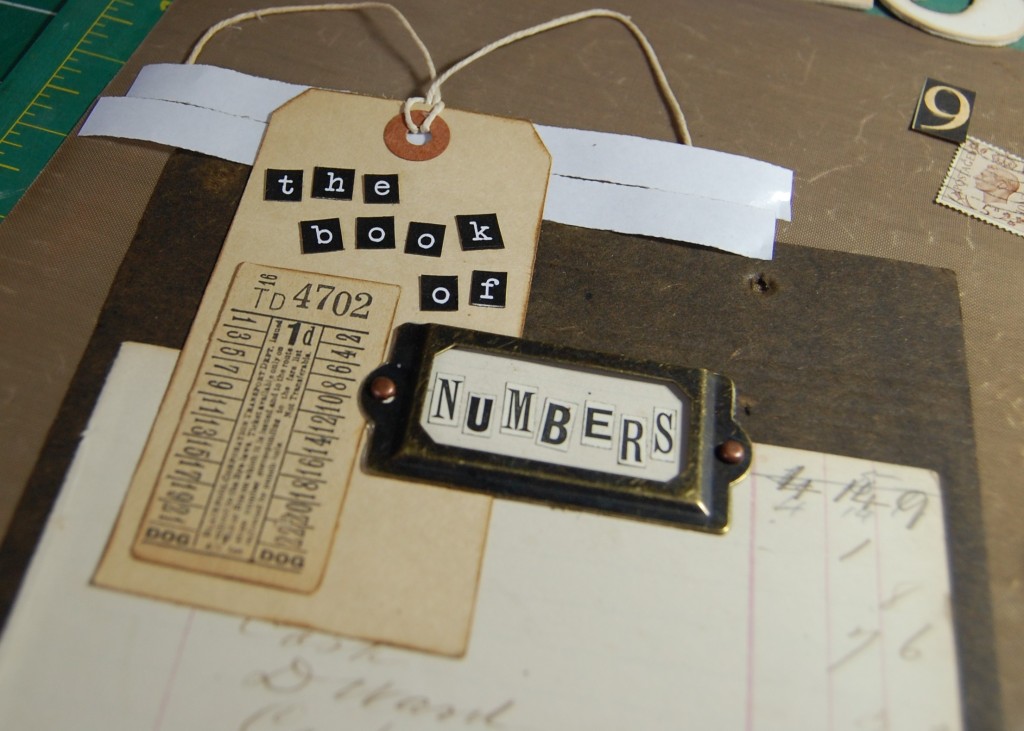
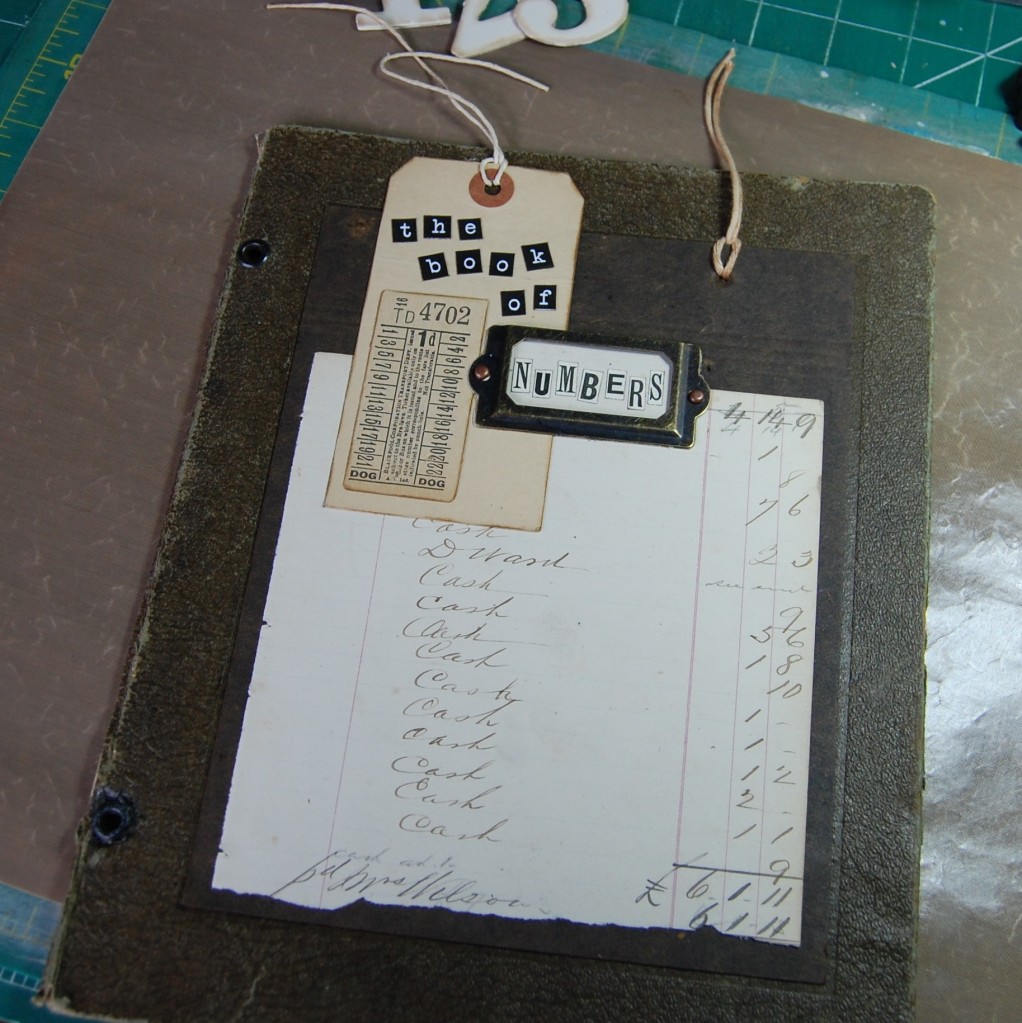
This is the draft design for the front cover. Wherever possible I like to retain as much of the original surface as possible. In this case the Temple Bar title would need covering, so I found a piece of stiff brown card from an old photo album and used sideways, it just fitted into the indented oblong on the cover. The rest of the design just fell into place from there. Here is how it was made in pictures and captions.


With all the pages and the cover now complete, it was just a case of assembling the book and it would be finished.
See the next post for the completed book.
Alison Vainlo 2022


Pingback: The Book of Numbers | The Magpie Crafter